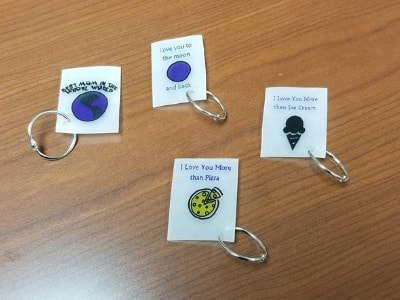
Shrinky dinks are one of the coolest and easiest crafts for kids. Use a template or make your own design and turn it into a shrinky dink key chain keepsake!
Supplies for Shrinky Dink Key Chain
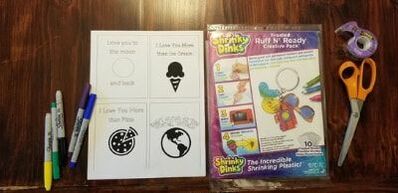
- Shrinky Dink “paper”
- Printable Gift Template
- Sharpie Markers (Fine point works best)
- Oven
- Key chain ring
Preparation for Key Chains
Start by cutting the shrinky dink “paper” into quarters. You can find the paper at most craft stores or you can order it from amazon. (Click here to see the current price) Shrinky dink paper comes in clear and frosted. If you are using a template you should use the clear, but if you are creating your own design the frosted shirnky dinks have a beautiful finish.
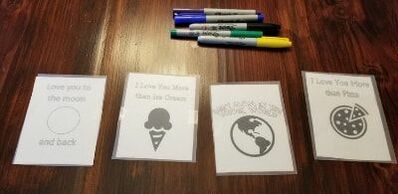
If you are using the printable gift template print a few copies before you start the projects. Quarter the template so that you have the four template available.
How to make Shrinky Dink Key Chains
Give each child a quarter sheet of shrinky dink paper, set out sharpie markers, and template options. I suggest using fine tip sharpie markers. They are a little pricey but they make it easier for kids to add detail to their designs and it comes out with sharper lines. (Click here to see the current price on Amazon)
When using the template have the kids tape the template behind the shrinky dink sheet, so they can easily trace the template onto the shirnky dink paper without the template moving underneath it.
After each child has completed their masterpiece, hole punch the corner. Pre-heat the oven to 325 and bake for 1-3 minutes. Watch the shrinky dinks careful to make sure they do not curl up onto themselves.
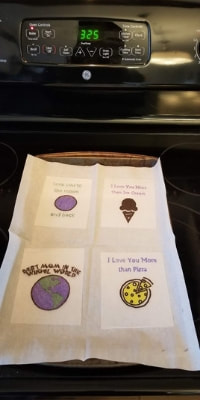
Remove the shrinky dinks, if they have bubbled or curled quickly push them down flat while they are still warm (only a few seconds). Then when the shrinky dinks have had time to cool and harden push the key chain loop through the hole and secure.
More Gift Ideas
If you are looking for more gifts that kids can make you may enjoy self-expression framed art. Kids make designs directly on the glass of a picture frame!
You may also like pony bead sun catchers. This craft melts standard pony beads into a beautiful sun catcher any mom or grandmother would love!

Pingback: How to Make a Bath Bomb - That After School Life
Hi! I was curiously, do you have the kids write on the smooth side or the sanded side? Also when you heat them, do you put them sanded or smooth side down? I am havin my second graders do these Andy the 2 that I have done have curled horribly. I had them write on the smooth side and cooked them smooth side up. Just wondering if I did it wrong. Thanks for your help and the cute idea!